DIY Roof Installation is an exciting project for any homeowner, but it’s important to remember that the success of your roof installation depends largely on the preparation you do beforehand. If you don’t properly prepare your roof before beginning work, chances are good that your results won’t be satisfactory and could even lead to costly repairs or replacements in the future. That’s why knowing how to properly prepare for DIY roof installation is essential if you want your finished product to look great and last for years. In this blog, we will discuss all aspects of proper roof prep including safety considerations, materials needed, and steps involved in preparing your existing structure for a successful DIY install.
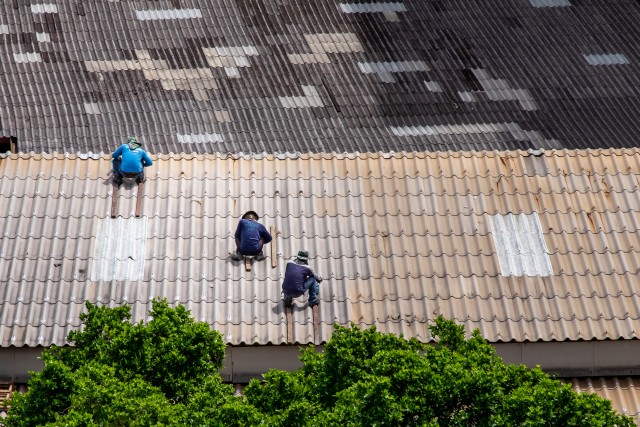
Safety is the number one priority when it comes to any roofing project. Before you begin prepping your existing structure, be sure to take all necessary safety precautions such as wearing a hard hat, gloves, safety glasses, and sturdy shoes. Keep an eye out for any loose shingles or materials that could cause injury during the preparation process. Also, make sure you thoroughly inspect your roof for any potential issues before beginning work- this includes checking for water damage, worn spots, or other problems that could cause structural issues if not properly addressed beforehand.
Once you’ve inspected the area and taken all necessary safety measures, it’s time to gather the materials needed for the prep process. You’ll need tools like a hammer, nails, screwdrivers, and ladders. You’ll also need items specifically for roof prep such as sealants, concrete patches, shingle cutters, and more. Make sure you have everything you need before starting the process so that there are no delays once you begin work.
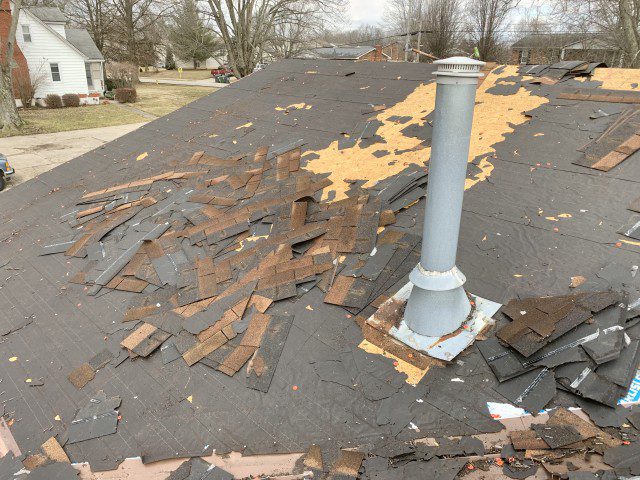
Now it’s time to actually begin prepping your roof for DIY installation. Start by removing any existing nails or screws from the structure- wear a pair of safety goggles to protect your eyes from any debris flying off during this step. Next, use a hammer to loosen up any stubborn nails that may be stuck in place and remove them as well.
DIY Roof Installation and Roofing Material
When it comes to the materials needed for a successful DIY roof installation, you will want to choose a roofing material that is durable and designed to last in your climate. There are many different types of roofing materials available on the market today, such as asphalt shingles, metal roofs, rubber membranes, and more. Asphalt shingle roofs are one of the most popular options due to their low cost and ease of installation. However, these types of roofs can be prone to leaks and require extra maintenance in order to keep them looking good over time. Metal roofs offer increased durability and they have a lifespan of up to 40 years or more- though they come with a higher price tag than asphalt shingles.
Rubber membranes are an increasingly popular option due to their excellent waterproofing abilities and long-lasting performance- however, they also tend to be more expensive than other types of roofing materials. When selecting the right material for your DIY roof installation, it’s important to consider your budget as well as the climate and environment in which you live so that you can choose a material that offers both value and performance.
Roof Deck
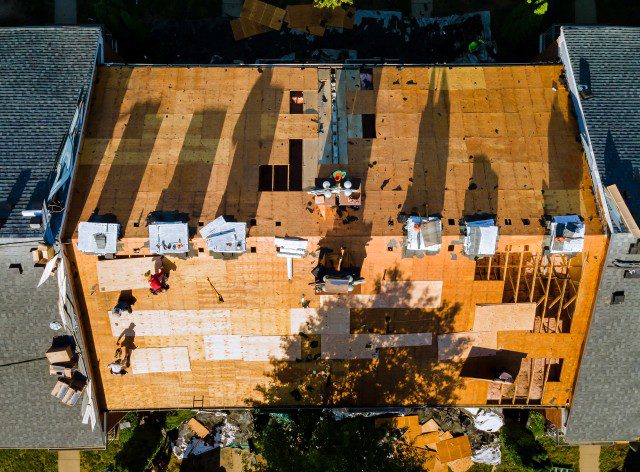
Once you’ve selected the roofing material that best suits your needs, it’s time to prepare the roof deck. This is the foundation of your roof and proper preparation is essential if you want a successful installation. The roof deck should be free of debris and completely flat in order to provide an even surface for your new roofing material. Start by inspecting the deck for any rotted wood or other damage that may need to be repaired before the installation process begins. Once any repairs have been taken care of, use a power washer or stiff broom to clean away dirt, mud, and other debris from the surface of the deck.
Next, check for any low spots or uneven areas that could cause problems during installation. If necessary, use shims or additional layers of plywood to level out the area and create a smooth surface on which to install your chosen roofing material. Finally, check for any weak spots where nails may have pulled loose in the past- if found, drive more nails into these areas to ensure they are properly secured before installation begins.
Starter Shingles
Once the roof deck is prepped and ready for installation, it’s time to install starter shingles. Starter shingles are the first row of shingles that go down on a roof and they act as a sealant between the roof deck and the main rows of shingles. When installing starter shingles, it’s important to use an adhesive-based product and follow the manufacturer’s instructions carefully. Make sure to measure each row before you begin so that your starter shingle rows are even throughout. It’s also important to make sure all nails are placed correctly- angled nails should be driven in at a 45-degree angle while flat nails should be placed flush against the roof deck.

Starter shingles come in different materials and colors, allowing you to customize your roof’s appearance if desired. When selecting starter shingles, consider both aesthetics and durability- look for products that will hold up well against inclement weather conditions such as high winds or heavy rain. Also, keep in mind that higher-quality products tend to come with longer warranties for added peace of mind. Properly installed starter shingles will not only provide a protective barrier. Still, they can also give your finished project a professional finish that you can be proud of for years to come!
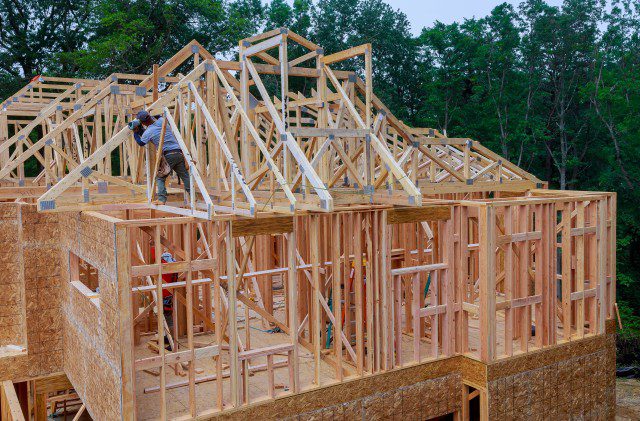
Roofing Project
When it comes to roofing projects, proper preparation is key. Before beginning any work, be sure to inspect the structure for any potential risks such as loose shingles or materials that could cause injury during the preparation process. Additionally, check for any water damage, worn spots, or other problems that could lead to structural issues if not addressed beforehand.
Once all necessary safety precautions have been taken and you’ve inspected the area, it’s time to gather the materials needed for the project. You’ll need tools like a hammer, nails, screwdrivers, and ladders. You’ll also need items specifically for roof prep such as sealants, concrete patches, shingle cutters, and more. Make sure you have everything you need before starting so there are no delays once you begin work.
The type of roofing material you choose will depend on a number of factors including your budget and climate conditions. Asphalt shingles are one of the most popular choices due to their low cost and ease of installation; however, they can be prone to leaks and require extra maintenance in order to keep them looking good over time. Metal roofs offer increased durability and have a lifespan of up to 40 years or more- though they come with a higher price tag than asphalt shingles. Rubber membranes are an increasingly popular option due to their excellent waterproofing abilities; however, these types of systems also tend to be more expensive than other options available on the market today.
Once you’ve chosen your material of choice it’s time to prepare the roof deck- this is essential if you want a successful installation. The deck should be free of debris and completely flat to provide an even surface for your new roofing material. Start by inspecting the deck for any rotted wood or other damage that may need repair before installation begins; then use a power washer or stiff broom to clean away dirt and mud from the surface of the deck.
Check for any low When spots or uneven areas that could cause problems roof during project installation,- preparation use sh and planning or additional layers of ply key forwood success as necessary. in order to level out the area and create a smooth surface on which to install your installation chosen roof processing material. Finally, make sure all nails are securely fastened always into place inspect before the beginning existing work- The structure angled and the nails should be driven that it a is 45 in- good condition degree and angle-free of flat any nail damage should or be deterioration placed flush against. This includes roof checking for water deck itself leakage, for maximum worn security.
Rubber membranes
Rubber membranes are versatile materials used in various applications like waterproofing, sealing, and testing. Here are some key points from the search results:
Rubber Membranes for Soil Testing: Latex membranes are used to seal triaxial soil samples for ASTM D2850 and D4767 tests. These non-porous latex rubber membranes come in different sizes and thicknesses3.
EPDM Rubber Waterproofing Membranes: EPDM rubber membranes are single-ply membranes ideal for waterproofing basements, roofs, terraces, expansion joints, wet areas, facades, and more. They offer superior performance compared to other waterproofing products like bitumen membranes and coatings. EPDM membranes are easy to install without the need for flames or torches5.
EPDM Roofing Membranes: EPDM roofing membranes are commonly used for new single-ply roof construction, repairs, RV roofs, mobile homes, warehouses, etc. These membranes are durable, fire-rated, energy-star rated, and made in the USA4.
These different types of rubber membranes cater to specific needs such as soil testing, waterproofing, and roofing applications with varying sizes, thicknesses, and performance characteristics.